@cnhoff Lol, snap!
Tactile Immersion - General Discussion - Hardware & Software
- Thread starter Mr Latte
- Start date


")


Latest News
-
 Macau Grand Prix in Sim Racing: Deserving of More?This weekend is the Macau Grand Prix and whilst a shadow of its former self, this tight street...
- Angus Martin
- Updated:
- 3 min read
-
How One Announcement Quadrupled Forza Horizon 4's Player BaseIt is exactly one month until Forza Horizon 4 will no longer be available to purchase online...
- Angus Martin
- Updated:
- 2 min read
-
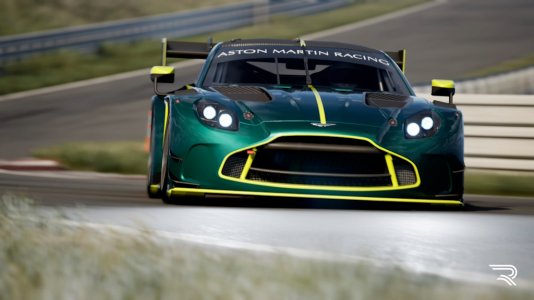
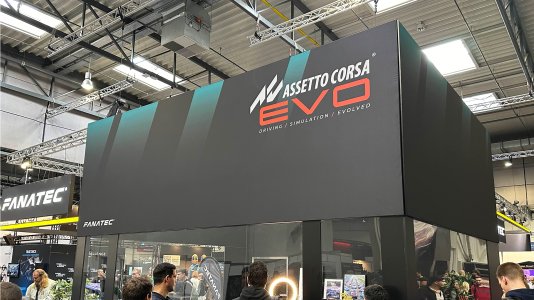
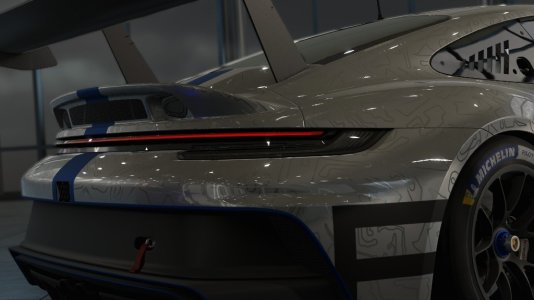
 Assetto Corsa EVO New Car Configurator In The PipelineAfter this year's sim Racing Expo, the excitement around Assetto Corsa EVO has continued to...
- Connor Minniss
- Updated:
- 2 min read
-
 Steering Wheel Showdown: Which Wheel Would You Like A Sim Racing Version Of?Sim racers have plenty of choice when it comes to hardware. There are a number of cool steering...
- Yannik Haustein
- Updated:
- 2 min read
-
 Gran Turismo 7: Yamauchi Teases New Cars For Update 1.53It is that time again when Gran Turismo series producer Kazunori Yamauchi teases us with an...
- Luca Munro
- Updated:
- 5 min read
-
Automobilista 2: Incoming DLC Will Have Free Trial PeriodWith the big v1.6 update, plenty of new content is coming to Automobilista 2. Players who are on...
- Yannik Haustein
- Updated:
- 2 min read
-
Le Mans Ultimate Online Subscriptions Expected To Arrive In December 2024Ahead of the expected December update to Le Mans Ultimate, Motorsport Games reported its Q3...
- Yannik Haustein
- Updated:
- 2 min read