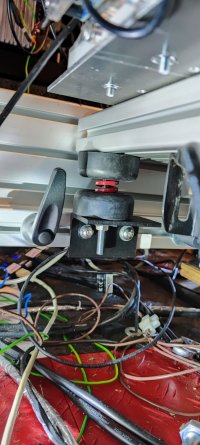
This vibration isolation stuff is a rabbit hole, lol. So the neoprene washers are hard to find in the UK and I have been looking into alternatives. The link below is for a UK website which has a large selection of components for such a task.
So we’re after minimal to no flex with maximum isolation which is why I did like the neoprene solution in that it can be adjusted to reduce flex. When it comes to flex the term seems to be “compression load“ which is the maximum load a material can take before deformation occurs.
What I’m thinking is to go for vibration isolation where the total weight is as close to the compression load figure as possible, so that we maximise the vibration reduction while keeping unwanted flex under control. My untested assumption is that we are after as soft a material as possible to maximise the vibration dampening effects and that matching weight to compression load achieves that. A material with a compression load of 300kg will be harder and not as effective at reducing vibrations, right?
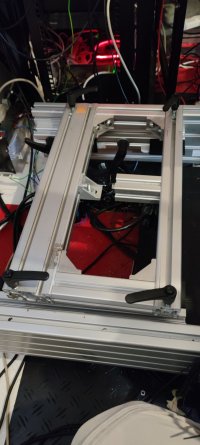
e.g. Myself, chair, seat brackets, transducers plus fixings combined weight is around 87kg, so with four anti vibration mounts spreading the load each mount should have a compression load close to 22kg as possible.
Here is a decent selection I made having specified some criteria…
Shop our range of Fixed Height Mounts & Feet supplies & accessories. Free Next Day Delivery. Browse our latest Fixed Height Mounts & Feet offers.

uk.rs-online.com
Here are the ones I am ordering….
uk.rs-online.com
Another factor to consider is compression deflection which for the ones I’m buying is 4mm. I’m no engineer so may not be on the right track here, but it all seems to make sense.
Edit: With all that said, I hadn’t factored in that when braking hard there will be more load on the rear vibration mounts as the seat presses back. Also, a seat mover will apply much stronger forces than a stationary seat. I guess I’ll see how I get on.