It's a bit more complicated in GIMP cause it doesn't have quite the same featureset as Photoshop so opened psds aren't always set up the same as they used to be but basically something like this:
The base layer
white is replaceable either by painting on it or painting on layers above it like
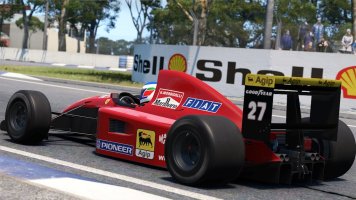
color overlay (which I added to the template and drew 3 red dots on to show how that looks).
Then there are the
windshield banner and
constant logos which are just logos that come with the template (since a lot of series have a static tire sponsor location and manufacturer)
The layer GIMP's likely not to import correctly is
ao meaning ambient occlusion, which is the shadows on the body. This layer needs
Mode: Multiply at the top, so it affects the lower layers correctly.
Then there's a hidden layer
wireframe this is just a convenience feature so you can see the actual locations on the texture that will be mapped on the car. If you export your skin with the wireframe visible it'll also give you a bunch of extra reference points for lining up stuff across body seams.
Once you've painted the texture you need to create a new skin folder on the car - steamlibrary/common/assettocorsa/content/cars/car_name/skins/your_skin - and save it to that as the same filename as other skins use.
Most cars will be using dds for this, which GIMP doesn't include an exporter for. But for testing purposes png will also load ingame, you just need to export as "body35_d.png" and then rename it "body35_d.dds" from file explorer. There is a dds exporter for GIMP you can find on the internet but I don't really recommend it, it does a bad job with compression. Better off downloading the software "Compressonator" or another 3rd party thing that can read png and save dds.


")