PWIstuDio
Premium
DIY - water transfer printing
a big portion of my my rig report is DIY and i like to share some insights on sepcial techniques. This time i like to share some pictures on water transfer printing.
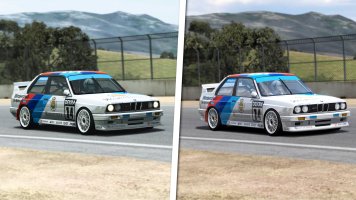
lets start with the result - i think on of my biggest achievements during this long DIY journey - the front part of my beloved BMW M8 GTE project.

first of all we start with a thin layer primer. afterwards i applied some layers of filler. This step is key to get clean and shiny surfaces.


during the next step i sand the filer to get the final shape of my surface. During this step its important to understand that you sand the filler and not the 3d printed part. this makes you work easier and the result better. In the past i tried to get rid of 3d print surface by sanding the plastic which took ages and the result was never as good as sanding the filler.


maybe you have to repeat by adding further filler and do again some sanding. when you have a perfect surface you can jump to the next step - painting.

.jpeg")
after the paintshop is done you can do the water print. you can find some good internet video on how-to. for me the key elemets are
- perfect surface (good filler and good sand paper - i conculted a local expert to get the right material)
- stable water temp, correct activator, stable water surface - take your time, no hectic")
- correct final coat - if the clear paint does not work together with your water foil you can destroy the whole piece in the last step.
coming to the last step - final coat


next chapter - videos
a big portion of my my rig report is DIY and i like to share some insights on sepcial techniques. This time i like to share some pictures on water transfer printing.
lets start with the result - i think on of my biggest achievements during this long DIY journey - the front part of my beloved BMW M8 GTE project.
first of all we start with a thin layer primer. afterwards i applied some layers of filler. This step is key to get clean and shiny surfaces.
during the next step i sand the filer to get the final shape of my surface. During this step its important to understand that you sand the filler and not the 3d printed part. this makes you work easier and the result better. In the past i tried to get rid of 3d print surface by sanding the plastic which took ages and the result was never as good as sanding the filler.
maybe you have to repeat by adding further filler and do again some sanding. when you have a perfect surface you can jump to the next step - painting.
after the paintshop is done you can do the water print. you can find some good internet video on how-to. for me the key elemets are
- perfect surface (good filler and good sand paper - i conculted a local expert to get the right material)
- stable water temp, correct activator, stable water surface - take your time, no hectic
- correct final coat - if the clear paint does not work together with your water foil you can destroy the whole piece in the last step.
coming to the last step - final coat
next chapter - videos
Last edited: