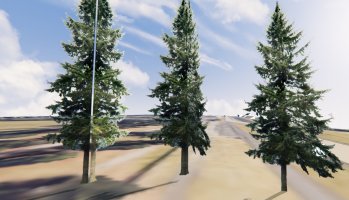
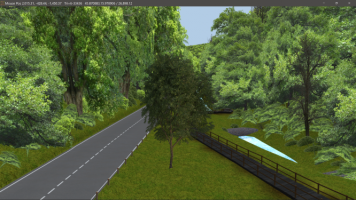
Oh c'mon, you did that? That's sweet. Too bad you didn't post it here. [..] About learning Blender, yes, basics are easy to learn but if you check any of these tutorials, they aren't as basic as it seems.
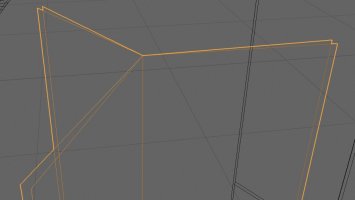
Look, in Blender, what I did and where I got lost;
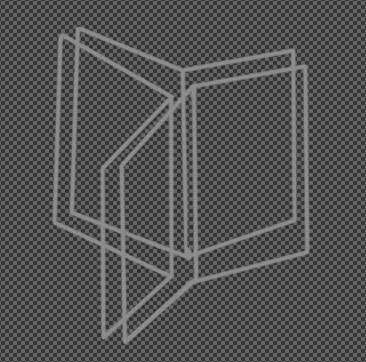
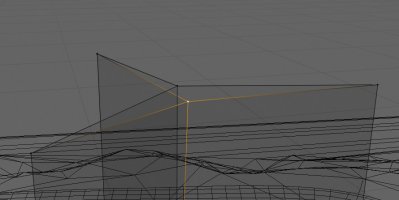
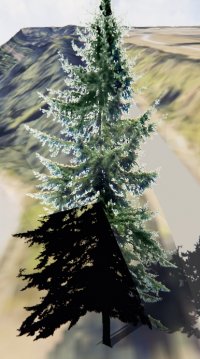
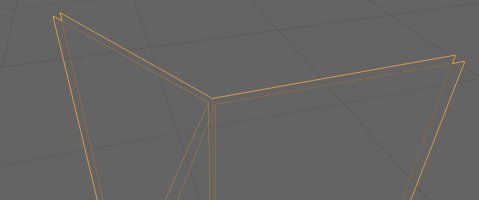
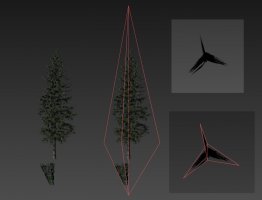
I deleted the cube that you get at the start. I created a plane (my first question that I didn't have the answer to was, how big should the plane be?) I created a plane number two, and number three. To be able to create a Y-tree, I got to a conclusion there should be 120 degrees angle between the planes. Somehow managed to do that. But what then? Do I make these three planes a single object? Or not? I saw some posts regarding shading that say I should split the planes in half, so I did that.
Hm, yeah, sometimes tutorials are like "just give it a Scatter modifier, adjust settings, and done!" whereas usually there is a lot more involved.
The three planes you made can be joined into one object. Select them all in Object mode and hit "CTRL+J" (or in the menu, Object > Join). Now it's one object. You need to give the vertices some UV coordinates. Go into Edit mode, select the polygons ("A" will select all polygons), right click > UV Unwrap > Unwrap. Depending on your mesh (if your vertices are joined for instance) you can get either good or bad results. It's usually easier to make one plane, UV map it, then copy and rotate to get the full Y-tree. Go to the tab "UV Editing" and it will bring up a new screen with the UV map. At the top you can select what background image you want to view (this has no affect on what texture is being used. That's all handled by giving the object a material, assigning the polygons to that material if they aren't already, and assigning a texture to that material. Took me a while to figure out how that worked exactly, let me know if you need to know), and select and move the vertices to the right location.
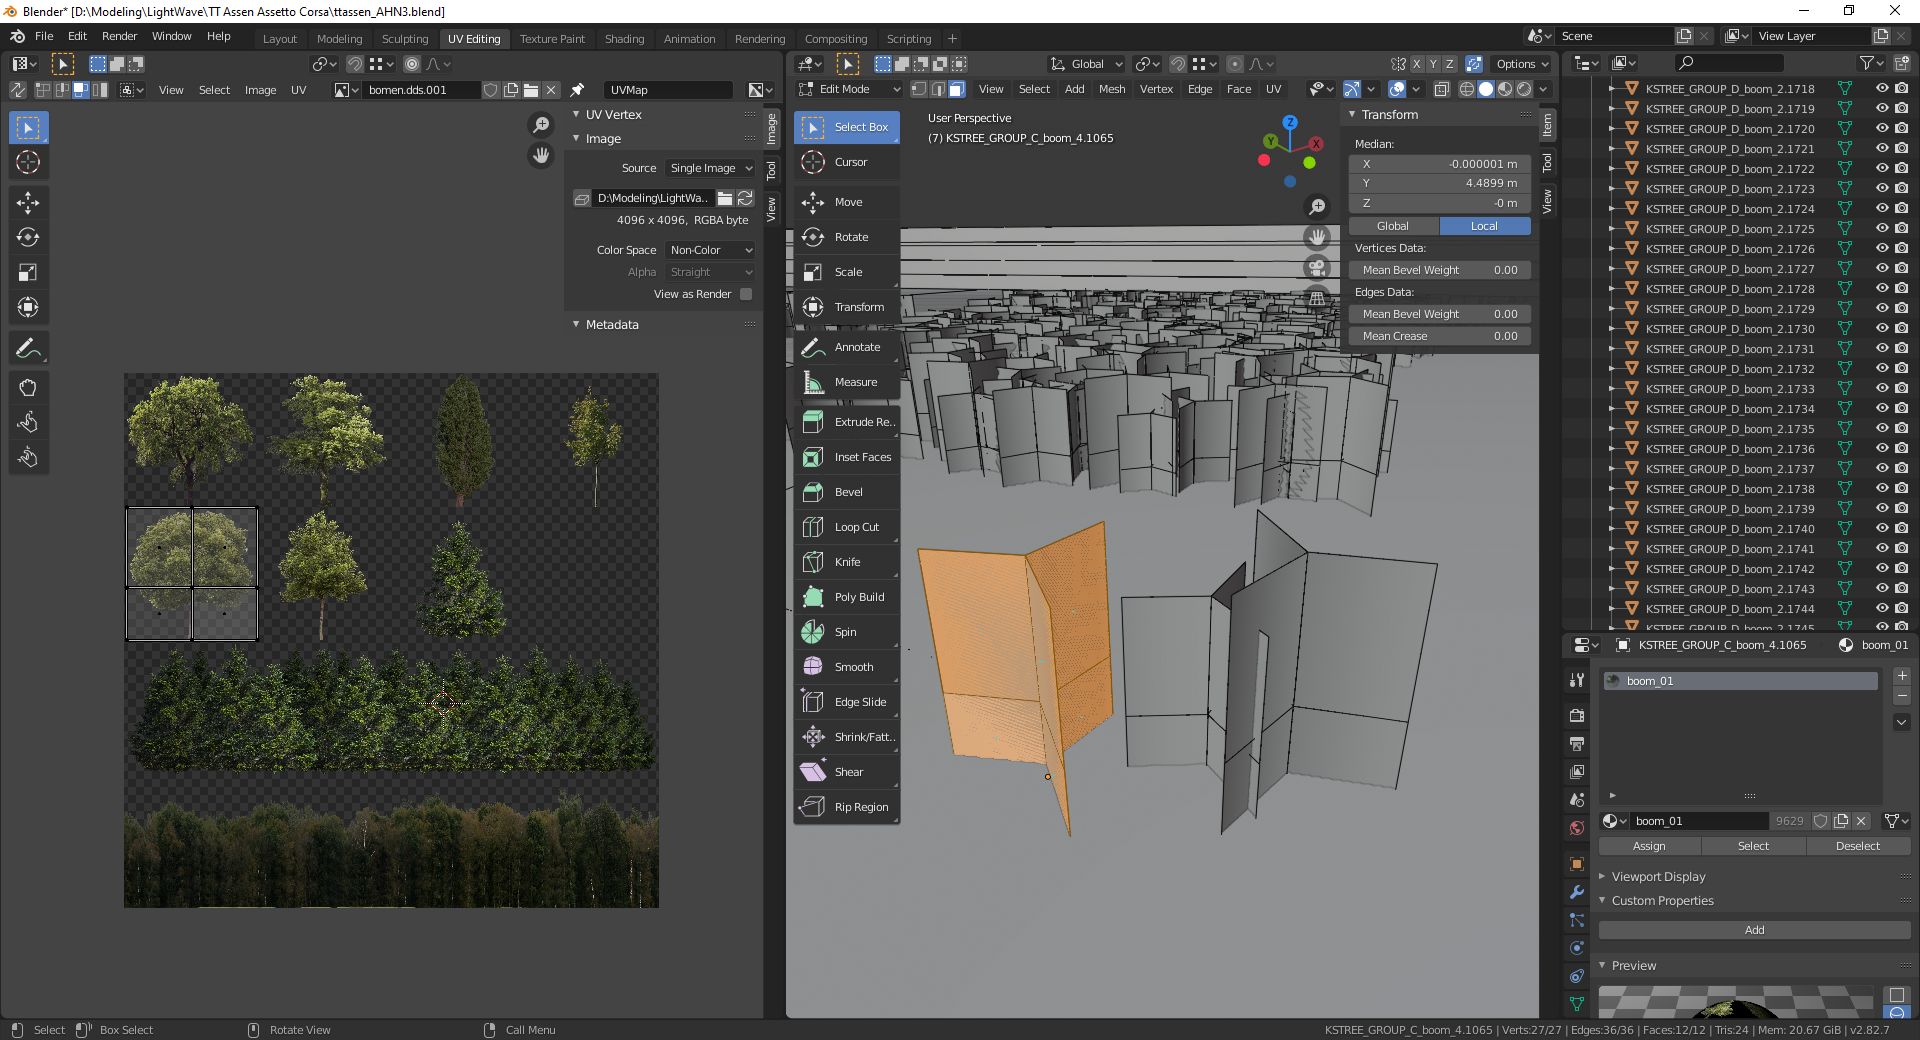
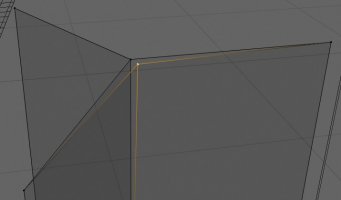
Following Lilski's advice on better tree lighting, that cut can be made quite easily. In Edit mode, press "2" to go into Edge selection and select all vertical edges (if you draw the rectangle from right to left, everything that crosses its path will be selected (only if it's not occluded, best to enable XRay (Alt+Z or the icon on the top right of the viewport with the partly dashed line squares)). Draw it from left to right and only anything that is fully inside it will be selected. Much like many other programmes, such as SU). Then go to Edge > Subdivide, and you'll have a new cut right through the middle. If you want to move that up and down without affecting the texture, select the newly created edges or vertices and press "G" "G" to 'edge slide' them.
That's one tree done. If you're using RTB to scatter them around the track, then that's all. If you want to use Blender, oh boy you're gonna have a fun time

It's really powerful, but not very intuitive.
And then the naming convention is another thing.
If you're willing to go down that route, I could make some kind of tutorial on very basic level.
The other thing. I did create a couple of textures in PS and exported them as PNG and as DDS texture, just to try many different ways. Which DDS format should I use is also the question? People say DX5, but where in the export does it say DX5?
DXT3 and DXT5 are similar, just that their alpha channel is handled differently. From my understanding, if you need soft transparency, DXT5 [edit: thanks Stereo] is the way to go (for clouds or smoke), whereas if you need harder transparency (like on a fence or on a tree with leafs) you're better off using DXT3.
RGBA or ABRG might be the notation of your country? All those letters stand for are Red, Green, Blue, Alpha, the four channels it exports.
PNG's or JPG's are highly unrecommended. It might work fine on some more modern machines, but especially old GPU's will suffer a lot, usually resulting in massive stutters.
