Skins Help creating skins in Gimp

I have a question about skinning Kunos cars. If other people have questions or are looking for tips skinning using Gimp feel free to post them here as well.

I have made a few skins now but almost all of them were for mod cars rather than vanilla. Apart from the manditory stuff like making a scary circus tent skin for the Abarth 595SS. So I am a total novice. Over the weekend just gone I made myself a few skins for some vanilla cars but im a bit confused by the AO layers and by some of the file formats. I'll focus on the Alfa GTA.

When I open the Alfa skin template (Skin_00.PSD) in Gimp 2.8 I see the chrome pieces and not much else. There are 4 AO layers Wireframe, Chrome, Layer 1 & Layer 9. To see the wireframe and template correctly I have to untick (click the eye symbol) Layer 9 then tick Layer 1 off and on again. Layer 1 I guess is the AO layer that adds shadow to my skin? It doesnt look the same as it did with mod cars though and when I use it as it is but with less opacity it washes out all the colours on my skin. I messed around with it (I think I did something with greyscale and tried changing Mode to Multiply and Burn) so that it doesnt wash out colours anymore... it seems to act like a normal AO layer now but there are nasty artifacts in the paint.
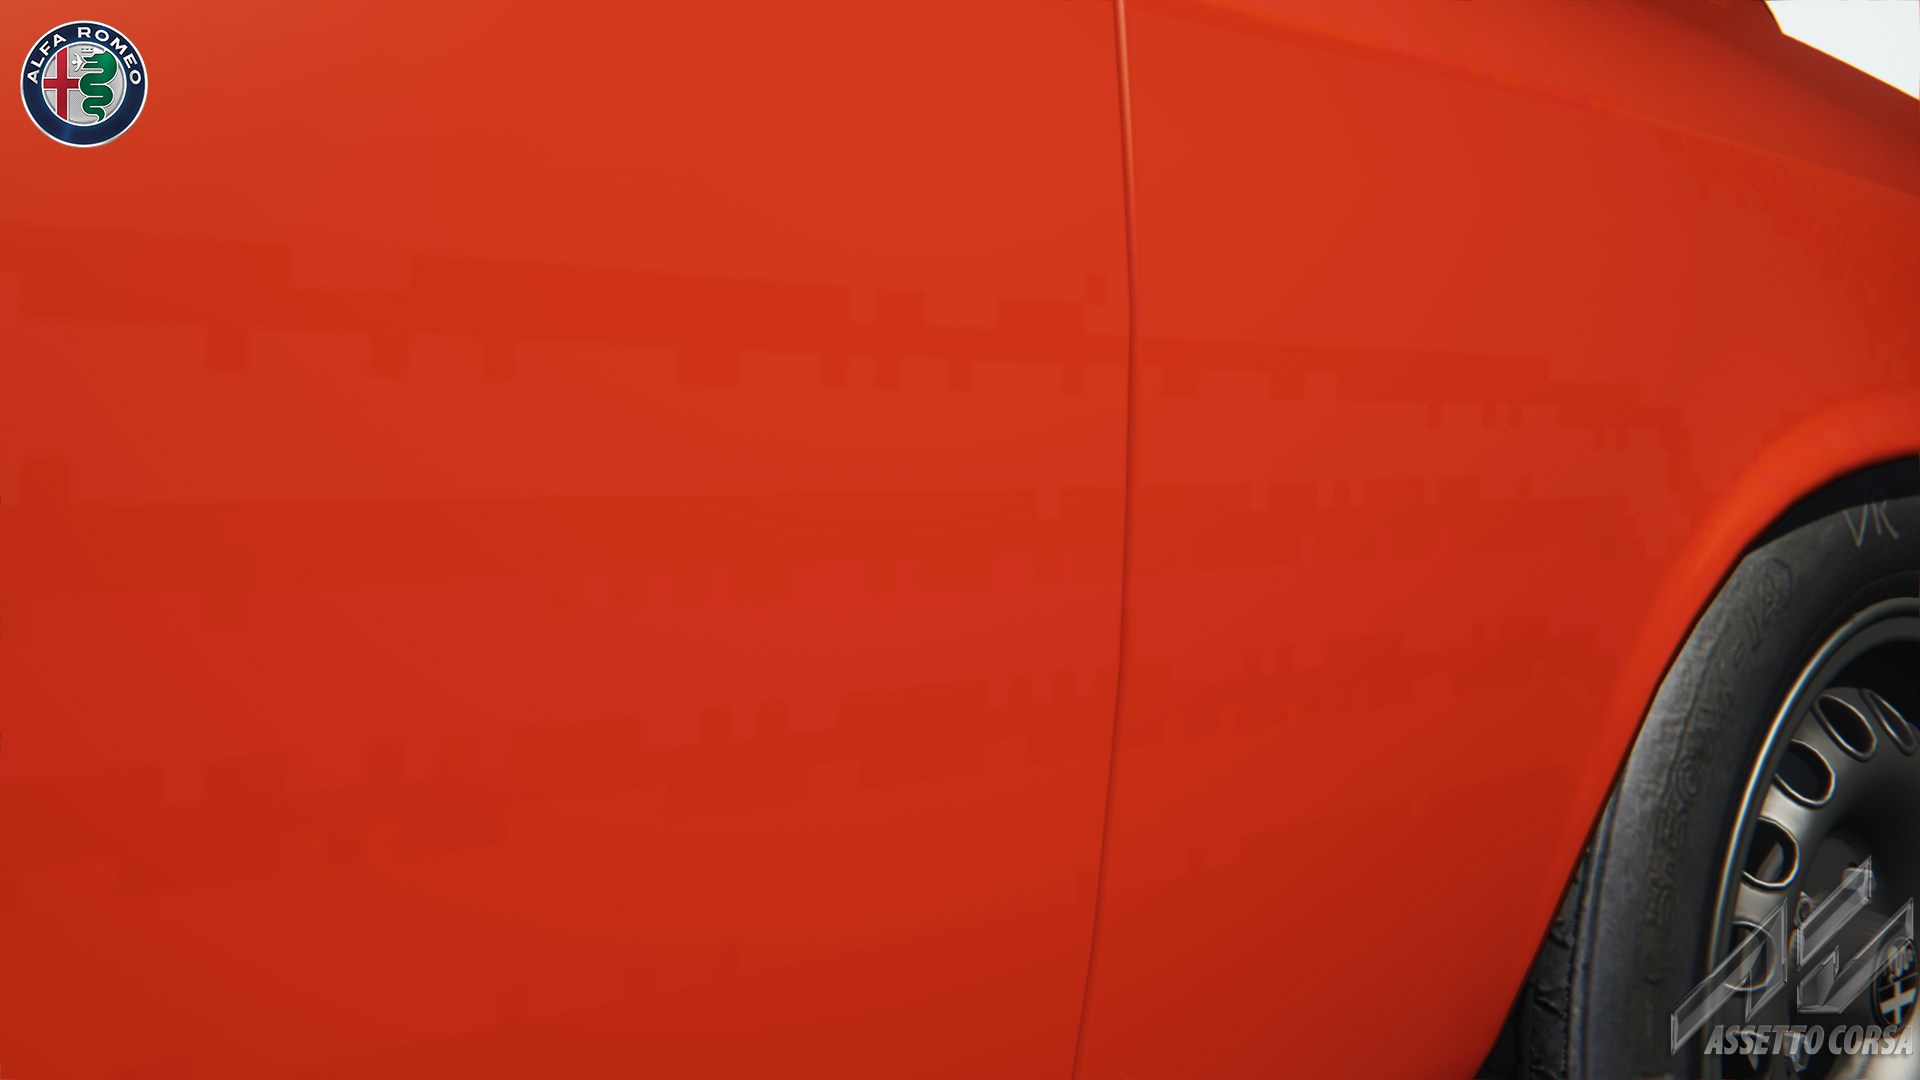
skin.jpg

These disappear when I turn off the AO layer and export. Could some please explain how to correctly use the AO layers with vanilla content?

I also noticed the Rim_Base and Rim_BLUR templates are in .DDS format which I havent seen before skinning mod content. This is more an observation than anything, I seemed to be able to paint them well enough but I havent seen a template in .DDS before.

I am aware of the great skin tutorial for AC but it is for Photoshop not Gimp.

Any help fixing the AO issue would be much appreciated.
 
The artifacts are most likely due to your DDS compression. Use 8.8.8.8 for the best result (will give you larger file sizes).
If you just want simple colours: edit the metal_detail rather than the skin.

When I paint a new layer underneath the AO layer with bright yellow, my skin appears to be bright yellow. So not sure how it is washed out? I'm using PS but it should work exactly the same in Gimp.
 
Thanks for the reply NightEye :)

I've been exporting in BC2/DXT3 with mipmaps.

I wish I could remember what I did to the AO layer now but I cant :/

My skins wont win any awards :p but it is nice to drive around with a skin/livery you made yourself.

No AO
1noAO.jpg


Modified AO (50% opacity)
1AOmodified.jpg


default AO (at 100% opacity)
1AOdefault.jpg
 
Could you try DXT5? DXT3 saves a different kind of alpha layer, which might cause this weird behaviour. AO layer "should" be set to Multiply and it should simply work. Curious if the DXT setting is causing this.
 
No change really using DXT5
1AOmodified.jpg


Could you open the Alfa GTA template to make sure it is something my end? Maybe it just doesnt work in Gimp?
 
and this is what it looks like if i do the same thing :(
all AO layers turned on apart from wireframe. can anyone using Gimp confirm this?
1.jpg


is PSD format photoshop specific? the AO layers behave really weird in Gimp for this template. turning layer 9 off then turning other AO layers off and on again seem to fix the issues but something isnt right for sure. Im using Gimp 2.8
 
PSD is photoshop specific and only reverse engineered to GIMP (plus GIMP doesn't support modifier layers and some other PS things) so to some extent you do need to change how the layers are set up.

For me to make it work I had to remove the layer group. It's called "Ambient Occlusion" but "Layer 1" is the actual AO.
4gguMgA.png

'color' is my new layer for painting the skin onto.
I think the layer group does something with transparency that GIMP isn't displaying correctly.
 
Thank you Stereo :D I think you have probably solved my issue, it is late now but I cant wait to give this a try tomorrow! Before I saw your post I made this video to try and show NightEye the problem... might as well post it anyway.

 
Wow, that are some weird transperancy issues... Weird.
Photoshop CS2 is indeed free, and it's (IMO) a lot nicer to work with than Gimp (I use Gimp at work, or atleast try to use it :p ). Resolves all your problems :D
 
Removing the AO layers from the group fixed the issue :D

I can't figure out how to download CS2. All the videos I have seen show a page that I cannot find on the Adobe website. Links to the download page either take me to a page where I can download a trial version (no serial number) or fail to load :(

HA! just found a working link after I posted.
 
AHHHH! it is frustrating trying to learn new software :p how do you adjust the position of a point when you are plotting a path in Photoshop? i've figured out most of the things i need but this one is really annoying me! i'm using the pen tool. i don't like that i can only undo once either, i could undo loads of steps in Gimp.
 
With A you will select the black or white mouse pointer (shift+A toggles between the two). The black one moves the entire curve/shape/etc, the white one allows you to edit points. Hold CTRL to select multiple ones and you can do transforms etc aswell (right click, free transform points). Arrow keys move them a third of a pixel I believe, shift+arrow keys moves them a few dozen pixels.
With the white pointer, while holding CTRL+ALT your pointer will change in an L shaped one when hovering over a point. Click and drag (while still holding CTRL+ALT) to make it a bezier curve. You can then either move the handles or drag the line to adjust the curve. If you want to convert it back into a sharp corner, simply click it while holding CTRL+ALT.

EDIT: The amount of undo-steps can be adjusted. Hold on :p
Edit > Preferences > Performance > History States. I've set it to 50, should be enough haha

If you want I can upload one of my PSD files so you can have a look. I'm not the cleanest worker, my files are messy. But yeah... :)
 
Last edited:
You can also do multiple undo steps in Photoshop, just do CTRL-ALT-Z instead of CTRL-Z, which will toggle undo/redo. (CTRL-SHIFT-Z will redo multiple steps if you undo multiple steps and need to return.)
 
thank you so much guys! that will really help me out :)

i will start a new skin using Photoshop soon to learn how everything works. i'll have to read Bailey's guide again now, it will certainly be more useful once i can use Photoshop.

i'd love to take a look at how you work NightEye, i'm sure i will learn a thing or 2 from it. im pretty messy as well TBH. a friend who helped me a lot when i was first learning to make skins is very organised, he very kindly organised one of my WIP skins for me into panel/area groups, colours, patterns etc and i was 10x slower afterwards lol. i guess its easier if you structure it yourself. i havent done complex skins yet so i never use groups. just layers for colours, patterns & logo's.
 
thanks NightEye, i had a quick look but until i understand a bit more about Photoshop all i can do is look at your layers :p i work in a similar way. i will be starting a skin with Photoshop this weekend and will have a closer look at yours at the same time.

btw are there standard names for all Kunos cars for things like tx map and tx metal detail and stuff?

when i was making some skins for Dauntless' LX8 mod i was messing around with coloured tx and liked the different effects. Dauntless had created a tx metal detail for flake and carbon weave. can we do this kind of thing with Kunos cars? maybe it's covered in Bailey's guide.
 
I believe most of that is covered in most tutorials. Names are somewhat standard, but easiest is to look if another skin has the MAP file you're looking for. There are other ways of obtaining them but they are not legal :)
These files control specular, roughness and reflection. Play around with different colours (different patches of R/G/B set to "additive (not 100% sure.. there is a layer style that, when combining R/G/B you'll get white)" work nicely to see the effects).

Metallic flake is definately possible. Most modern cars have that with a metal_detail.dds file, where the alpha layer controls the specular reflection, simulating flakes in the paint. You can do carbon weaves with it too but it will never react the same as in real life. I believe the One:1 mod has some nice CF effects.
 
thanks NightEye, i had a quick look but until i understand a bit more about Photoshop all i can do is look at your layers :p i work in a similar way. i will be starting a skin with Photoshop this weekend and will have a closer look at yours at the same time.

btw are there standard names for all Kunos cars for things like tx map and tx metal detail and stuff?

when i was making some skins for Dauntless' LX8 mod i was messing around with coloured tx and liked the different effects. Dauntless had created a tx metal detail for flake and carbon weave. can we do this kind of thing with Kunos cars? maybe it's covered in Bailey's guide.
You worked with Dauntless too? Did he ask you to delete all his "traces" in AC modding too..? (still salty about the way he left the ship)

And yes you can use all sorts of tileable effect in the metal_detail files. One of the stock Kunos skins for the Alfa GTA has a unique combination of metal detail and map files, resulting in a brushed metal look of the skin.
 

Latest News

Do you prefer licensed hardware?

  • Yes for me it is vital

  • Yes, but only if it's a manufacturer I like

  • Yes, but only if the price is right

  • No, a generic wheel is fine

  • No, I would be ok with a replica


Results are only viewable after voting.
Back
Top