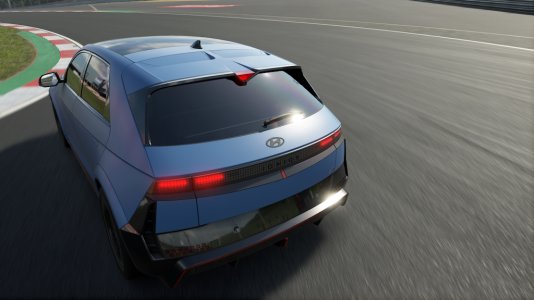
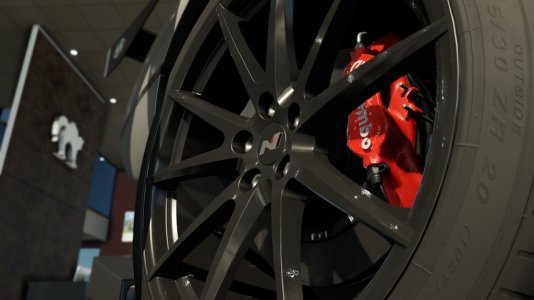
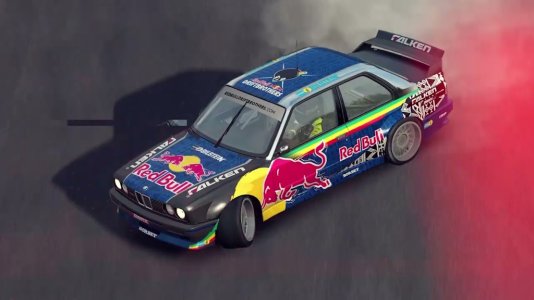
These are the Reshade presets I use while taking photos in Kart Racing Pro.


IMPORTANT: You must disable Antialiasing in KRP's settings and set the depth buffer in Reshade for the depth-based effects to work properly. In addition, the depth-based effects might not work properly anyway in multiplayer due to Reshade's anti-cheating measures.
There are 3 files in the downloaded .zip:
pl4sma2389-PhotoPreset.ini - Overdone "cinematic" preset
pl4sma2389-Preset.ini - Regular preset
ReShade.ini - Optional, use this if you want my Reshade key bindings.
Among the included effects are:
MXAO - Ambient Occlusion and Indirect Lighting - this effect shows through the UI
LocalContrastCS - Boosts contrast only in high-contrast areas
prod80_02_Bloom - Subtle "bloom" effect, which blurs and overlays the brightest parts of the image.
prod80_04_ContrastBrightnessSaturation - Color correction and enhancement.
DELC_Sharpen - Raises texture contrast.
CMAA_2 - Adds Antialiasing back in after it has been disabled according to my recommendation above.
INSTALLATION INSTRUCTIONS:
1. Uninstall Reshade from KRP if you had installed it previously.
2. Download this file and unzip all three files into Kart Racing Pro's STEAM DIRECTORY, not the documents/PiBoSo/Kart Racing Pro directory!
3. Download the latest version of Reshade from here.
4. Run the downloaded .exe and select Kart (kart.exe) from the list, or use the Browse... button to select kart.exe in the KRP Steam directory. Then hit Next.
5. Make sure OpenGL is selected, then hit Next.
6. Click the Browse... button and select pl4sma2389-PhotoPreset.ini to allow Reshade to autoselect the shaders to download in the next step. Then hit Next.
7. Make sure Standard, SweetFX, qUINT, Color effects, and Insane-Shaders are selected. Then hit Next.
8. Once it's finished downloading, hit Finish, and start KRP.
9. Once KRP starts, the Photo preset will be selected, which will add black bars, vignetting, and heavy filmic color adjustment to the screen. You should be able to hit the F9 or F10 keys to switch to the other, more generally suitable preset, which should reveal the game's UI.
10. If you haven't done so already, go to KRP's settings and disable Antialiasing.
11. Enjoy!
NOTES:
Controls:
F9, F10 - Toggles between presets.
F11 - Shows the Reshade config panel.
F12 - Toggles Reshade on and off.
Some effects will be disabled in Multiplayer. This is beyond my control and is built-in to Reshade as an "anti-cheating" measure.
MXAO will show through the UI.


